**No glues, construction adhesives, epoxies, or similar should be used at any time when installing butcher block countertops**
These adhesives will inhibit hardwood's natural movement and will create tension in the top and/or what it is adhered to, leading to warping or cracking in your top or damage to your cabinet's frame or base's structure.
We build every piece to have a distinct top and bottom. This should be apparent either from the appearance of your piece or the top edge profile. We ship every piece top side up, but if you have any questions about orientation, don't hesitate to reach out to one of our staff members.
1. Acclimating your hardwood top:
Once received, bring your top into the area where it will be installed, unwrap it, and store it flat and lifted off the ground. Since hardwood is susceptible to moisture changes in the air, it will need approx. 5 days to acclimate to your home’s climate. Your countertop should not be left uninstalled for more than 10 days, as the prolonged opportunity for wood movement will increase the risk of warp.
2. Preparing your cabinets:
A. Most cabinets come with gussets (corner blocks) already installed. These keep the cabinet square during delivery but can also be used as installation points to which you may fasten your countertop.
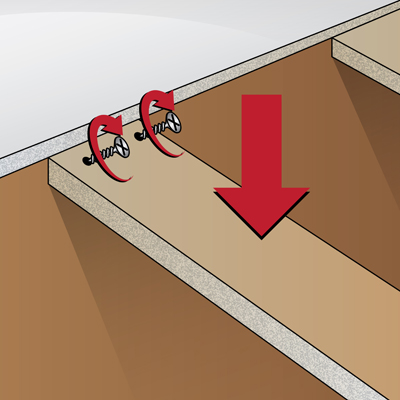
B. If your cabinets do not come with gussets installed, then you will need to install blocking to create a surface that you can attach your butcher block countertop to. Use a quality grade of 3/4" plywood or 1x stock boards to do this. Install the blocking flush with your cabinet tops by first drilling pilot holes at an angle through the blocking and then screwing the blocking to your cabinets making sure to use properly sized screws so that you don't screw all the way through your cabinet wall.
*Hardwood tops must be installed so that there is ample airflow on all sides to prevent uneven moisture content (MC) fluctuation. Hardwood tops should not be installed on top of plywood or other solid surfaces. If your cabinets have closed tops, furring strips may be installed to lift the top. Please reach out to one of our team members with any questions*

3. Determining and preparing your installation points:
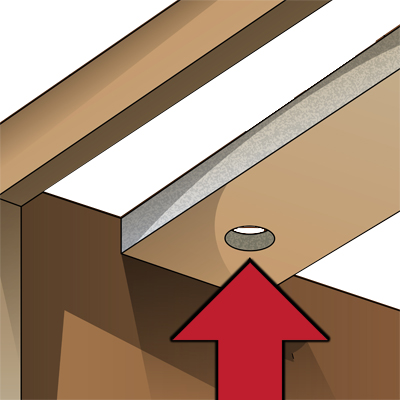
Your installation points should be located along the perimeter of your piece. This includes any corners and should be repeated every 24” along the length and width.
The hole that you drill in each installation point should be 1/8” larger than the screw threads itself (for example: #8 screws require a ¼” hole). The oversized hole allows the wood to expand and contract freely along the width as needed.

4. Assembling pieces that have joints:
If your piece has either a butt joint or a miter joint you should have received the wood tenons and draw bolts needed to complete this step in the process. A 5mm hex key may be needed to tighten the included drawbolts.
Add a bead of flexible caulk to the inside of the joint and insert the wood tenons into the mortis milled along the inside of the joined edges on one of the pieces and bring them together. Once the pieces are together slide the draw bolts into the channels milled into the bottom of the pieces and tighten them until the pieces are snug. Remove any excess caulking that was pushed out the top and sides of the joint. Repeat this process on any joined pieces.
*Caulking is not necessary, but it is recommended to create a sealed joint and help prevent any hidden water damage
5. Positioning your piece for installation:
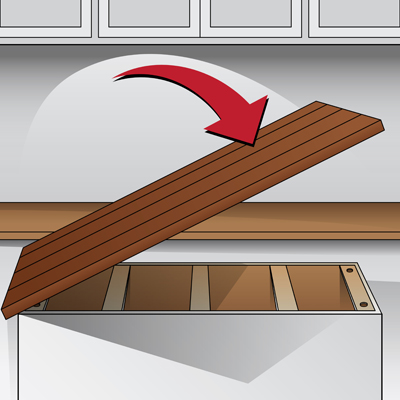
Position your butcher block as it will be installed. Find the center of each hole you drilled into the gussets or blocking and pre-drill into the butcher block using a drill bit adequately sized in diameter for your screws, making sure to mark your depth so as not to drill all the way through your butcher block.

6. Fastening your piece:
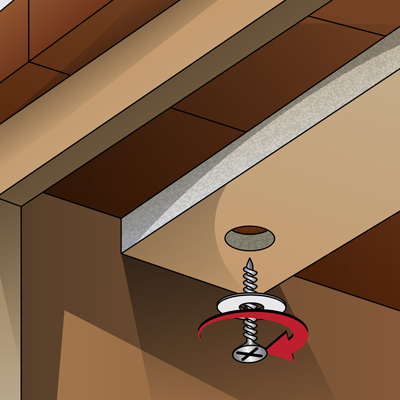
We recommend either using washer head screws or fitting each of your installation screws with a large fender washer. Tighten screws only to the point where they pull the butcher block snug with the cabinet– do not over-tighten. If your screw is too tight, it will prevent the wood from expanding and contracting as necessary and need to be loosened.
If your piece is 1” thick or less it is recommended that your screws thread at least half way into your piece and if your piece is 1.5” thick or greater it is recommended that at least ¾” of thread is fastened into your piece.

7. Sink and cooktop installation:
If you have an under-mount sink it is essential to seal around the perimeter of the sink where it meets the bottom of your top with flexible silicone caulking. Not only will this prevent any water damage to the bottom of your piece, but it will also prevent any mold or mildew buildup.
If your top is being installed with a drop-in cooktop and insulation is required per manufacturer specifications, then it is necessary to install as instructed to reduce the transfer of heat. This will prevent any damage that may occur due to long-term exposure.
8. Supporting overhang:
You may refer to our overhang guidelines to determine whether additional supports will be needed for your order.
9. Care and maintenance:
Please refer to our care guides for more information on how to properly maintain the integrity of your piece.
10. Standalone tops:
Our tops may be used for dining tables, desks, and more. The directions above are specifically related to tops that will be fastened to & fully supported by base cabinetry. Should you desire to use a different variation of attachment, please ensure that your top will be supported across the width to prevent cupping or feel welcome to inquire about other stability options including our offered recessed steel c-channels.
Please reach out to an Armani Fine Woodworking team member with any additional questions
regarding installation or how to care for your hardwood top.
